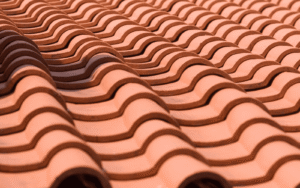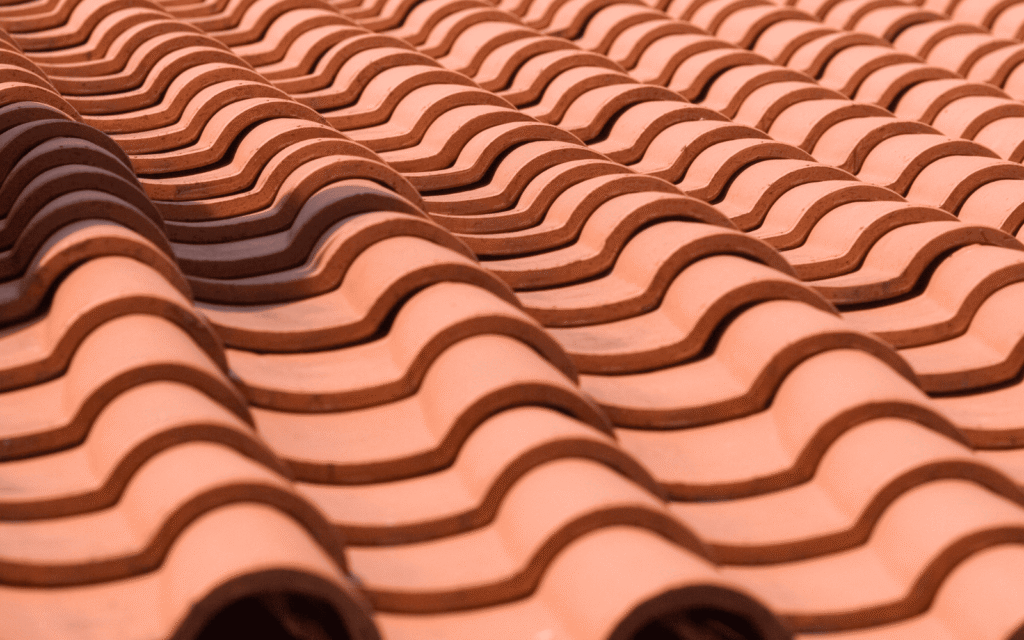
Choosing a tile roof is one of the best investments you can make for your Florida home. It offers unmatched curb appeal and, more importantly, fortress-like protection against our harsh coastal elements.
If you are wondering how the installation process works, you are in the right place. Whether you are exploring clay options for that Spanish-style look or durable concrete alternatives, understanding the process helps you make informed decisions.
At Yeti Roofing, we believe an educated homeowner is our best customer. Here is our guide to the complete tile roof installation process.
Understanding the Basics: Weight & Structure
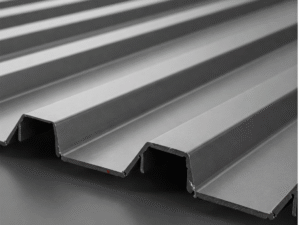
Before a single tile touches your roof, we must verify your home can support the weight. In Brevard County, this is critical. Tile roofing weighs significantly more than asphalt shingles:
Concrete Tile: Adds 8–12 pounds per square foot.
Clay Tile: Adds 6–10 pounds per square foot.
We start every project with a structural inspection of your roof deck. If your home was originally built for shingles, we ensure the trusses and decking meet current Florida Building Codes to handle the extra load. This step protects your investment and ensures a solid foundation that will last for decades.
The 7-Step Yeti Installation Process
Step 1: Roof Deck Inspection and Preparation We start by stripping the roof down to the deck. Our team thoroughly examines the plywood for rot, water damage, or weak spots—issues often caused by Palm Bay’s humidity. We fix these problems immediately. The deck must be clean, dry, and perfectly nailed down to meet hurricane wind mitigation standards.
Step 2: Installing High-Performance Underlayment In Florida, the underlayment is arguably more important than the tile itself. It is your primary waterproof barrier. We install a high-grade, self-adhering (peel-and-stick) underlayment directly to the deck.
Why it matters: This “secondary water barrier” seals around every nail and provides backup protection if a tile ever cracks during a storm. We don’t rely on old-school felt paper; we use modern synthetics designed for high heat.
Step 3: Planning the Layout Precision is key. We measure and snap chalk lines across the roof to ensure straight, symmetrical rows. We carefully plan around:
Valley and hip placements
Attic vents and plumbing stacks
Proper airflow requirements This planning ensures your roof doesn’t just perform well—it looks crisp and professional from the street.
Step 4: Installing the Tiles We begin at the eaves (the bottom edge) and work our way up. In Brevard County, wind resistance is the priority. Depending on the tile type and slope, we use specialized screws, foam adhesives, or clip systems rated for hurricane-force winds. This locks the tiles in place, preventing “chatter” or uplift during storms.
Step 5: Securing Ridge and Hip Caps The peaks of your roof (ridges and hips) take the brunt of the wind. We install specialized cap tiles that are custom-fitted to these angles. These are set in weather-blocking mortar or on structural metal supports to ensure they are watertight and secure.
Step 6: Flashing and Metal Work Leaks rarely happen in the middle of a roof; they happen at the transitions. We install custom-bent metal flashing around chimneys, skylights, and walls.
The Yeti Standard: We pay extra attention to “kick-out” flashing and valley metals to ensure water is directed purposefully into your gutters and away from your siding.
Step 7: Final Inspection and Site Cleanup Once the roof is on, we walk the entire perimeter. We check that every tile is seated correctly and every piece of flashing is sealed. Then, we do a full magnetic sweep of your yard to remove nails and debris. We treat your driveway and landscaping with respect, leaving your property cleaner than we found it.
Maintaining Your Tile Roof in Florida
A tile roof installed by Yeti Roofing is built to last 40 to 75+ years. However, routine care is still important:
Keep it clean: We recommend periodic soft-washing to remove algae or mildew that thrives in our humid climate.
Watch the traffic: Avoid walking on your tiles unless necessary, as they can crack under foot traffic. If you need to hang holiday lights or trim trees, give us a call for advice on where to step.
Frequently Asked Questions
How long does installation take? For an average-sized home in Palm Bay, a full tile replacement typically takes 5 to 7 days. Factors like steep roof angles, complex designs, or afternoon thunderstorms can adjust this timeline. We will provide you with a clear schedule before we start.
Can I switch from Shingle to Tile? Yes, but it requires an engineering check. Because tile is heavier, we may need to reinforce your roof trusses. We handle this evaluation as part of our initial consultation.
Why is tile more expensive than shingles? Tile is a lifetime material. While the upfront cost is higher due to the materials and specialized labor, a tile roof can last 2 to 3 times longer than an asphalt shingle roof. When you factor in the lifespan and the added resale value to your home, it is often the most cost-effective choice in the long run.
Ready to upgrade your home? Contact Yeti Roofing today for a free inspection. Let’s make sure your roof is ready for whatever the Florida weather brings.