When you live in Palm Bay or anywhere along the Space Coast, your roof acts as your home’s first line of defense against brutal sun, torrential rain, and hurricane-force winds. Because of these intense conditions, tile roofing remains one of the most sought-after upgrades in Brevard County. Furthermore, it offers timeless beauty and incredible durability.
However, a tile roof is only as strong as its installation. Therefore, if you plan on investing in this premium material, you need to understand exactly how our crews secure it to your structure. In this guide, the local experts at Yeti Roofing break down the tile installation process, so that you know exactly what to expect.
The Anatomy of a Tile Roof System
First, before we look at the attachment methods, we need to understand the materials. In Florida, homeowners typically choose between two common options:
-
Concrete Tiles: These tiles are heavy, dense, and highly resistant to high winds. Consequently, Palm Bay subdivisions favor them for their uniform look and durability.
-
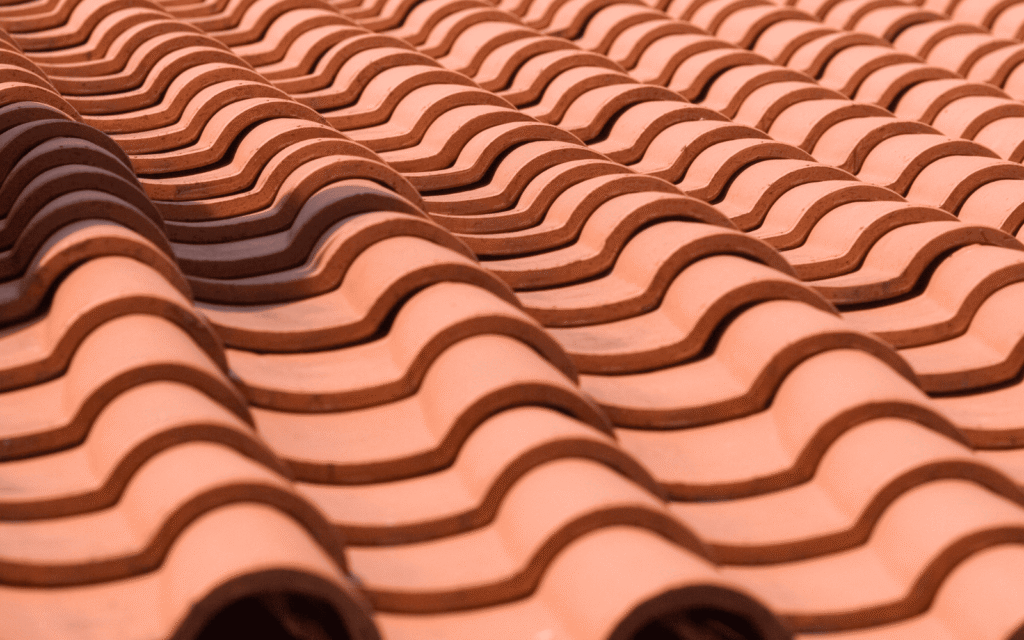
Clay Tiles: On the other hand, clay tiles are traditional, fire-resistant, and visually striking. Clay offers that classic Mediterranean feel and outlasts many other materials, even though it is more brittle than concrete.
Regardless of the material, a tile roof functions as a multi-layered system. In fact, the tiles themselves serve as just the top layer of a complex waterproofing strategy.
Step-by-Step: How We Attach Roofing Tiles in Florida
Installing a tile roof in a high-wind zone like Palm Bay requires strict adherence to Florida Building Codes. Here is exactly how our team does it:
Step 1: Deck Preparation and Inspection
A flawless foundation is absolutely critical. After our crew tears off the old roof, we thoroughly inspect the wood decking (usually plywood or OSB) for rot or damage. Next, we immediately replace any compromised wood. Ultimately, a heavy tile roof requires a solid, sturdy base to perform properly.
Step 2: The Underlayment (The True Waterproofing)
This phase is arguably the most critical step. Importantly, the tiles themselves do not make the roof waterproof; instead, the underlayment provides the real protection. To achieve this, we apply a premium, high-temperature, self-adhering underlayment directly to the wood decking. As a result, this barrier creates an impenetrable seal that protects your home, even if a tile cracks or blows off during a major storm.
Step 3: Installing the Flashing
Following the underlayment, our roofers install metal flashing in all the vulnerable areas where water could collect or penetrate. For example, we reinforce the roof valleys, the spaces around chimneys and vents, and the drip edges along the eaves.
Step 4: The Fastening System (Screws, Nails, and Foam)
Next, we actually secure the tiles. The exact method depends on the pitch (steepness) of your roof, the specific tile profile, and local wind codes. Generally, Brevard County roofers use three primary attachment methods:
-
Mechanical Fastening (Screws or Nails): This represents the traditional method. Installers drive screws or specialized roofing nails through pre-drilled holes in the top of the tile. By doing this, they secure the tiles directly into the roof deck or into wooden battens. Notably, in high-wind areas like Palm Bay, screws provide superior pull-out resistance compared to nails.
-
Polyurethane Foam Adhesive (The Modern Standard): Increasingly, contractors prefer this method for modern tile installations in Florida. Roofers apply a specialized, high-strength expanding foam adhesive directly to the underlayment, and then they press the tile into it. Consequently, this process creates an incredibly strong bond that easily withstands hurricane-force winds, all while avoiding unnecessary holes in your underlayment.
-
The Hybrid Approach: Furthermore, many high-quality installations use a combination of methods. For instance, crews mechanically fasten the first row of tiles (along the eaves) and the ridge tiles. Meanwhile, they secure the main field tiles entirely with foam adhesive.
Step 5: Cutting and Detailing
After securing the main field, we meticulously cut the remaining tiles to fit perfectly around vents, in the valleys, and along the hips. To do this correctly, our team uses specialized wet saws. As a result, we ensure clean cuts without shattering the material.
Step 6: Ridge Caps and Pointing
Finally, we install the ridge caps along the peak of the roof. Additionally, our masons complete any necessary “pointing”—which involves using mortar to seal gaps and secure complex angles. Ultimately, this final touch ensures the system locks down tightly and looks flawless.
Why DIY Tile Installation is a Bad Idea
While replacing a few shingles might seem like a manageable weekend project, a tile roof installation definitely requires professional expertise. Here is why you need an expert team:
-
The Weight Factor: Tile is incredibly heavy. Therefore, miscalculating the load or stepping on the tiles incorrectly during installation will cause them to crack. Consequently, this leads to immediate leaks.
-
Florida Building Codes: Palm Bay enforces strict wind mitigation requirements. If you do not attach your tiles using approved methods and materials, your roof will fail inspection. Worse yet, your insurance company will likely deny coverage.
-
The Complexity of Flashing: Most tile roof leaks happen in the valleys or around penetrations. Because of this, installing the flashing incorrectly under a tile system guarantees severe water damage.
Trust Your Palm Bay Home to Local Experts
Your roof represents a major investment. Therefore, you shouldn’t trust it to out-of-town storm chasers or unproven contractors. Instead, you need a team that understands the specific demands of the Space Coast climate.
At Yeti Roofing, we pride ourselves on precision craftsmanship. Furthermore, we operate as an owner-operated local business serving Palm Bay, Melbourne, and all of Brevard County. When you hire us, you get the owners on-site. Ultimately, we ensure our crew installs your tile roof perfectly, from the underlayment to the final ridge cap.
Visit yetiroofingfl.com for a free, zero-pressure estimate.