Your roof’s eaves are the unsung heroes of your home’s defense system. They provide essential ventilation, enhance your home’s architectural curb appeal, and most importantly, keep Florida’s harsh weather from destroying your exterior walls.
When your eaves are compromised by age, coastal moisture, or pests, water can infiltrate your home’s structural framing. This comprehensive guide breaks down everything you need to know about repairing and replacing roof eaves to keep your property fully protected year-round.
What Are Roof Eaves & Why Are They Crucial?
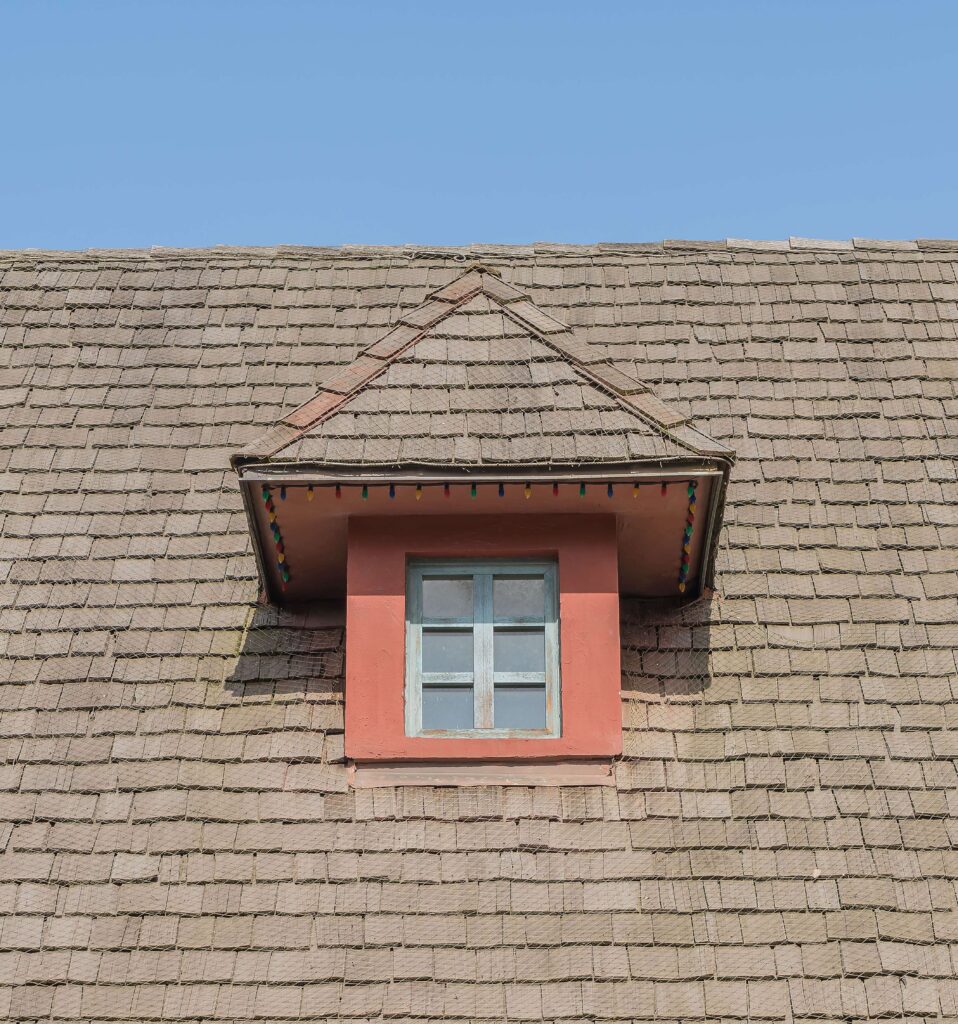
Roof eaves are the sections of your roof that overhang and extend past your exterior walls. They bridge the critical gap between your roof system and your home’s siding.
Core Protective Functions:
-
Water Diversion: They channel torrential rain away from your foundation, preventing soil erosion and foundational shifts.
-
Wall Protection: They shield your siding, windows, and doors from direct moisture penetration.
-
Energy Efficiency: Deep eaves provide natural shade over your windows during brutal summer months, lowering your interior cooling costs.
-
Attic Ventilation: The underside of the eave (the soffit) houses the intake vents necessary to keep your attic breathing, preventing trapped humidity and mold.
Many homeowners don’t look up until there’s a visible problem. Routine inspections are the easiest way to catch wood rot before it escalates into a massive structural repair.
Top 4 Causes of Eave Damage
Understanding the root cause of eave failure helps you prevent it from happening again.
-
Extreme Weather & Moisture: Constant exposure to high humidity, driving coastal rain, and intense UV rays breaks down paint and exposes raw wood. Once water penetrates the fascia and soffit boards, wood rot spreads quickly.
-
Clogged Drainage Systems: When gutters are backed up with leaves and debris, water overflows directly onto the wood framing of your eaves, accelerating deterioration.
-
Pest Infestations: Squirrels, birds, and insects view soft, rotting eaves as an open door. Carpenter bees will drill into the fascia, while termites can compromise the entire structural integrity of the roof line.
-
Improper Installation: If the previous contractor failed to install proper drip edge flashing or blocked the soffit vents during an insulation job, your eaves are practically guaranteed to rot.
Eave Damage & Repair Assessment
| Damage Type | Severity Level | Repair Timeline | Action Required |
| Peeling Paint / Minor Cracks | Low | 1 Day | Scrape, fill with exterior wood putty, prime, and repaint. |
| Isolated Wood Rot | Medium | 1-2 Days | Cut out the rotted section, patch with treated wood, and seal. |
| Pest Intrusions | Med-High | 2-4 Days | Exterminate pests, replace chewed fascia/soffits, add protective mesh. |
| Sagging / Complete Rot | High | 3-5 Days | Full structural replacement of fascia, soffit, and rafter tails. |
Step-by-Step Eave Repair Process
If you are a confident DIYer tackling a minor repair, follow this professional sequence to ensure the fix lasts.
1. The Assessment Phase
Grab a ladder and a flathead screwdriver. Press the screwdriver into the wood of your fascia and soffits. If the wood is firm, you just need cosmetic repairs. If the wood gives way, feels spongy, or crumbles, that section must be completely replaced. Check your drip edge flashing to ensure water is actually making it into the gutter.
2. Gather Your Materials
For a lasting repair in a humid climate, do not use standard untreated lumber.
-
Materials: Pressure-treated lumber, PVC trim, or composite boards (highly recommended for rot resistance).
-
Hardware: Galvanized or stainless steel fasteners (standard nails will rust and streak).
-
Sealants: High-grade exterior caulk, wood hardener, weather-resistant primer, and exterior paint.
3. Executing Minor Repairs
If you only have surface cracking:
-
Scrape away all loose paint and debris.
-
Apply an exterior-grade wood filler to the cracks and let it cure.
-
Sand the area flush with the existing board.
-
Apply a heavy coat of waterproof primer, followed by two coats of exterior paint.
-
Caulk all seams where the wood meets the siding or trim.
4. Executing Section Replacements
If the rot is deep:
-
Carefully pry off the damaged fascia or soffit board. Watch out for hidden nails and be careful not to damage the drip edge above.
-
Inspect the rafter tails (the framing behind the fascia). If they are rotted, they must be “sistered” (bolting new wood alongside the old) to restore structural integrity.
-
Measure and cut your pressure-treated or composite replacement board.
-
Pro Tip: Prime and paint the back and cut edges of the new board before you nail it up. This completely seals the wood from moisture.
-
Secure the board, caulk the seams, and apply the final face coat of paint.
When Should You Call a Professional?
While patching a small crack is a great weekend project, eave work can get complicated—and dangerous—very quickly. You should call a licensed roofing contractor if:
-
You Find Structural Rot: If the framing behind the eaves is soft, the structural integrity of your roof is at risk.
-
It’s a Two-Story Home: Working on ladders while handling heavy tools and lumber is a major fall hazard.
-
Ventilation is Compromised: If your soffit vents need to be reworked, improper calculations can suffocate your attic, voiding your shingle warranty.
Defend Your Home with Yeti Roofing
Your eaves and fascia are the foundation of your roof’s perimeter. If you live in Melbourne, Palm Bay, Suntree, or the surrounding coastal neighborhoods, your home takes a beating from the elements. Don’t wait for a rotted eave to turn into a major interior ceiling leak.
Get an honest assessment from the local authorities in complete hurricane protection.
Visit yetiroofingfl.com to schedule your free precision inspection!